 Dairy-Free Vanilla Milkshake
Adapted from Downshiftology’s Cashew Date Shake
Makes 2 big milkshakes or 3 smaller ones
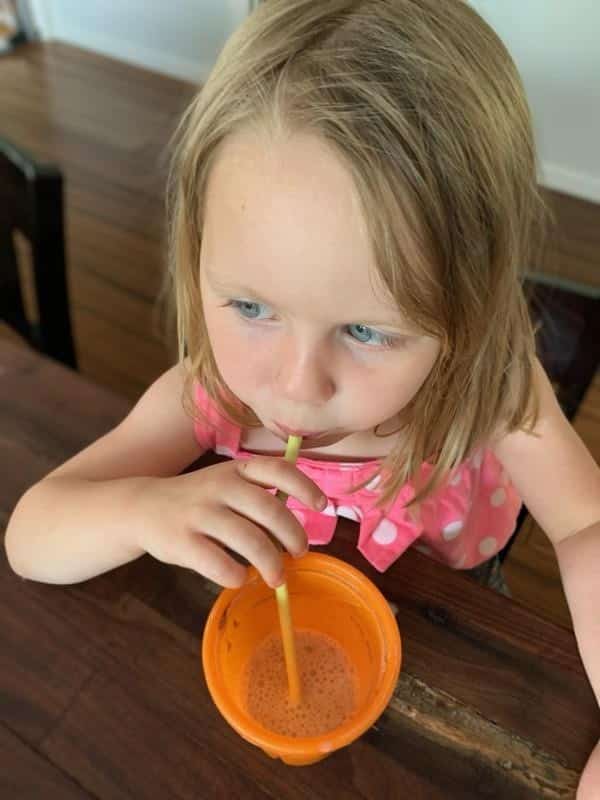
This sweet girl gets a lot of calories from milk and milk products, as her oral motor skills are still quite immature. These shakes provide some variety in her diet while also meeting her oral motor needs and tasting familiar. We did a taste test to compare vanilla and chocolate and they tied! She loved adding the ingredients into the blender, and thought it was super cool that the spinach ‘disappeared’ in the chocolate shake when we blended it up!
Ingredients
- 2/3 cup raw cashews (soaked for 20 minutes if you do not have a high-powered blender)
- 5-6 Medjool dates, pitted (soaked for 10 minutes if you do not have a high-powered blender)
- 1 banana, sliced and frozen (if it is yellow, it will have less of a banana flavor, a spotty banana will give it more sweetness and banana taste)
- 3/4 cup water
- 1 tsp vanilla extra
- pinch sea salt
- 2 cups ice
- Optional: 2-4 T Collagen protein powder (doesn’t affect the taste but adds protein)
Instructions
- If you do not have a high powered blender, measure the cashews into your blender, then pour boiling water over top of them to cover the cashews by about an inch or two (you don’t need to measure, we will dump out the water before blending). After about 10 minutes, add the pitted dates to the blender. After about 20 minutes of soaking total, you can drain the water out of the blender, saving the cashews and dates in the blender. If you have a high powered blender (Vitamix, Blendtec, etc.) you can skip the soaking and just add your cashews and pitted dates to the blender.
- Add the frozen banana, 3/4 cup cold water, vanilla, salt, and collagen protein powder if you are using it and blend until smooth. This might take a few minutes.
- Once your mixture is blended, add 2 cups of ice to help it be really cold like a milkshake. Blend again until all of the ice is broken up and the milkshake looks smooth.
- Pour into glasses and enjoy immediately!
Dairy-Free Chocolate Milkshake
Adapted from Downshiftology’s Cashew Date Shake
Makes 2 big milkshakes or 3 smaller ones
Ingredients
- 2/3 cup raw cashews (soaked if you do not have a high-powered blender)
- 5-6 Medjool dates, pitted (and soaked for 10 minutes if you do not have a high-powered blender)
- 1 banana, sliced and frozen (if it is yellow, it will have less of a banana flavor, a spotty banana will give it more sweetness and banana taste)
- 2 handfuls of fresh or frozen spinach, kale, or other baby green
- 1/4 cup cocoa powder
- 3/4 cup water
- 1 tsp vanilla extract
- pinch sea salt
- 2 cups ice
- Optional: 2-4 T Collagen protein powder (doesn’t affect the taste but adds protein)
Instructions
- If you do not have a high powered blender, measure the cashews into your blender, then pour boiling water over top of them to cover the cashews by about an inch or two (you don’t need to measure, we will dump out the water before blending). After about 10 minutes, add the pitted dates to the blender. After about 20 minutes of soaking total, you can drain the water out of the blender, saving the cashews and dates in the blender. If you have a high powered blender (Vitamix, Blendtec, etc.) you can skip the soaking and just add your cashews and pitted dates to the blender.
- Add the frozen banana, spinach, cocoa powder, 3/4 cup cold water, vanilla, salt, and collagen protein powder if you are using it and blend until smooth. This might take a few minutes.
- Once your mixture is blended, add 2 cups of ice to help it be really cold and thick like a milkshake. Blend again until all of the ice is broken up and the milkshake looks smooth.
- Pour into glasses and enjoy immediately!
We hope these recipes will be a fun addition to your family’s menu. If you are looking for more recipes, including recipes to get more protein, fruit, or veggies into your picky eater’s diet in non-threatening ways, check out our Parent/Caregiver Libraries.

 ☰ Menu
 ☰ Menu
 Dairy-Free Vanilla Milkshake